|
Aliases are alternative addresses for your existing mailboxes.
Here you will learn how to:
Creating an Alias
To create an alias:
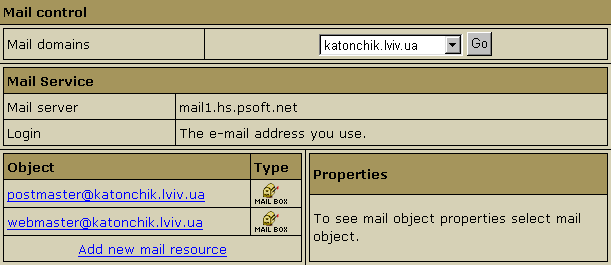
- Select Mail Info in the Mail Info menu.
- At the bottom of the page that appears, click Add new mail resource:

- Choose Mail alias in the drop-down box:

- Click Next.
- Agree with the charges, if any.
- Fill the form on the page that appears:

- Enter the alias name in the Alias Local Name field.
- In the To Mbox field select the local mailbox you are creating the alias for.
- Enter a Comment that will help you identify this alias among other mail resources.
- Click Submit.
Removing an Alias
To remove an alias:
- Select Mail Info in the Mail Info menu.
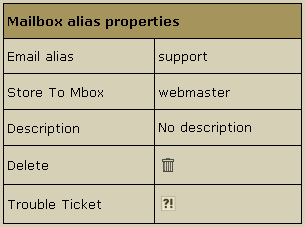
- Click the Alias you need. This will open its properties on the right:

- To delete the alias, just click the Delete icon.
Note: To get technical assistance with this alias,
click the icon next to the Trouble Ticket field.
|